Integracije
Getting started with Shopify
Connect your Shopify store so HelpStack's AI and agents can answer order, tracking, and product questions — and optionally show a live chat widget on your storefront.
What you get#
| Order lookups | The AI can answer "Where is my order?" and "What's the tracking number?" using live Shopify data |
| Product questions | Shoppers ask about products; the AI fetches the details directly from your store |
| Customer history | Agents see order totals, fulfillment status, and spend history in the conversation sidebar |
| Storefront widget | An optional chat bubble on your shop so customers can ask questions without leaving your store |
No technical knowledge required. The steps below take roughly 10–15 minutes and need nothing beyond clicking through a few settings pages.
Step 1 — Connect your store#
- In your HelpStack dashboard, go to Settings → Integrations.
- Find the Shopify tile and click Connect Shopify.
- Type your store's
.myshopify.comdomain — for exampleyour-store.myshopify.com— and click Connect. - You will be taken to Shopify. Click Install (or Approve) to grant HelpStack read-only access to your orders, customers, and products.
- You'll land back in HelpStack with a green "Connected" status.
That's it — from this point on, agents see an Orders sidebar panel on every conversation, and the AI can answer order and product questions.
Step 2 — Allow order & customer data (one-time)#
Shopify requires a separate approval before any app can read order and customer details. Until this is done, order questions will reply "access restricted"; product questions work without it.
- Open the Shopify Partner dashboard at dev.shopify.com and sign in.
- Click Apps in the left sidebar and select the HelpStack app.
- Go to API access (or App setup → API access).
- Find Protected customer data access and click to open it.
- Enable the Order object and tick Name, Email, and Phone.
- For the reason, write:
customer service — agents look up order status for shoppers. - Click Save and wait for Shopify's approval (usually instant for new apps in development).
You only do this once. The permission is app-level and stays in place across updates.
Step 3 — Show the chat widget on your storefront (optional)#
This step puts a chat bubble on your Shopify store so shoppers can ask questions without leaving. Skip it if you only want the AI to answer questions that come in through other channels (email, Instagram, etc.).
3a — Enable the widget in HelpStack
- Go to Settings → Integrations and open the Storefront widget section.
- Toggle Enable storefront widget ON.
- Under Default channel, pick the Website Chat channel you want to use. (Create one first under Settings → Channels if you haven't already.)
- Optionally add per-language rows — shoppers whose browser is set to that language will be routed to a different channel. Unmapped languages fall back to the default.
- Click Save.
3b — Add the widget to your theme
Choose one of the two methods below:
Option A — App embed (recommended, no code)
The App embed method lets you toggle the widget on and off from the Shopify theme editor with a single click. No code changes needed. This works with all Online Store 2.0 themes.
-
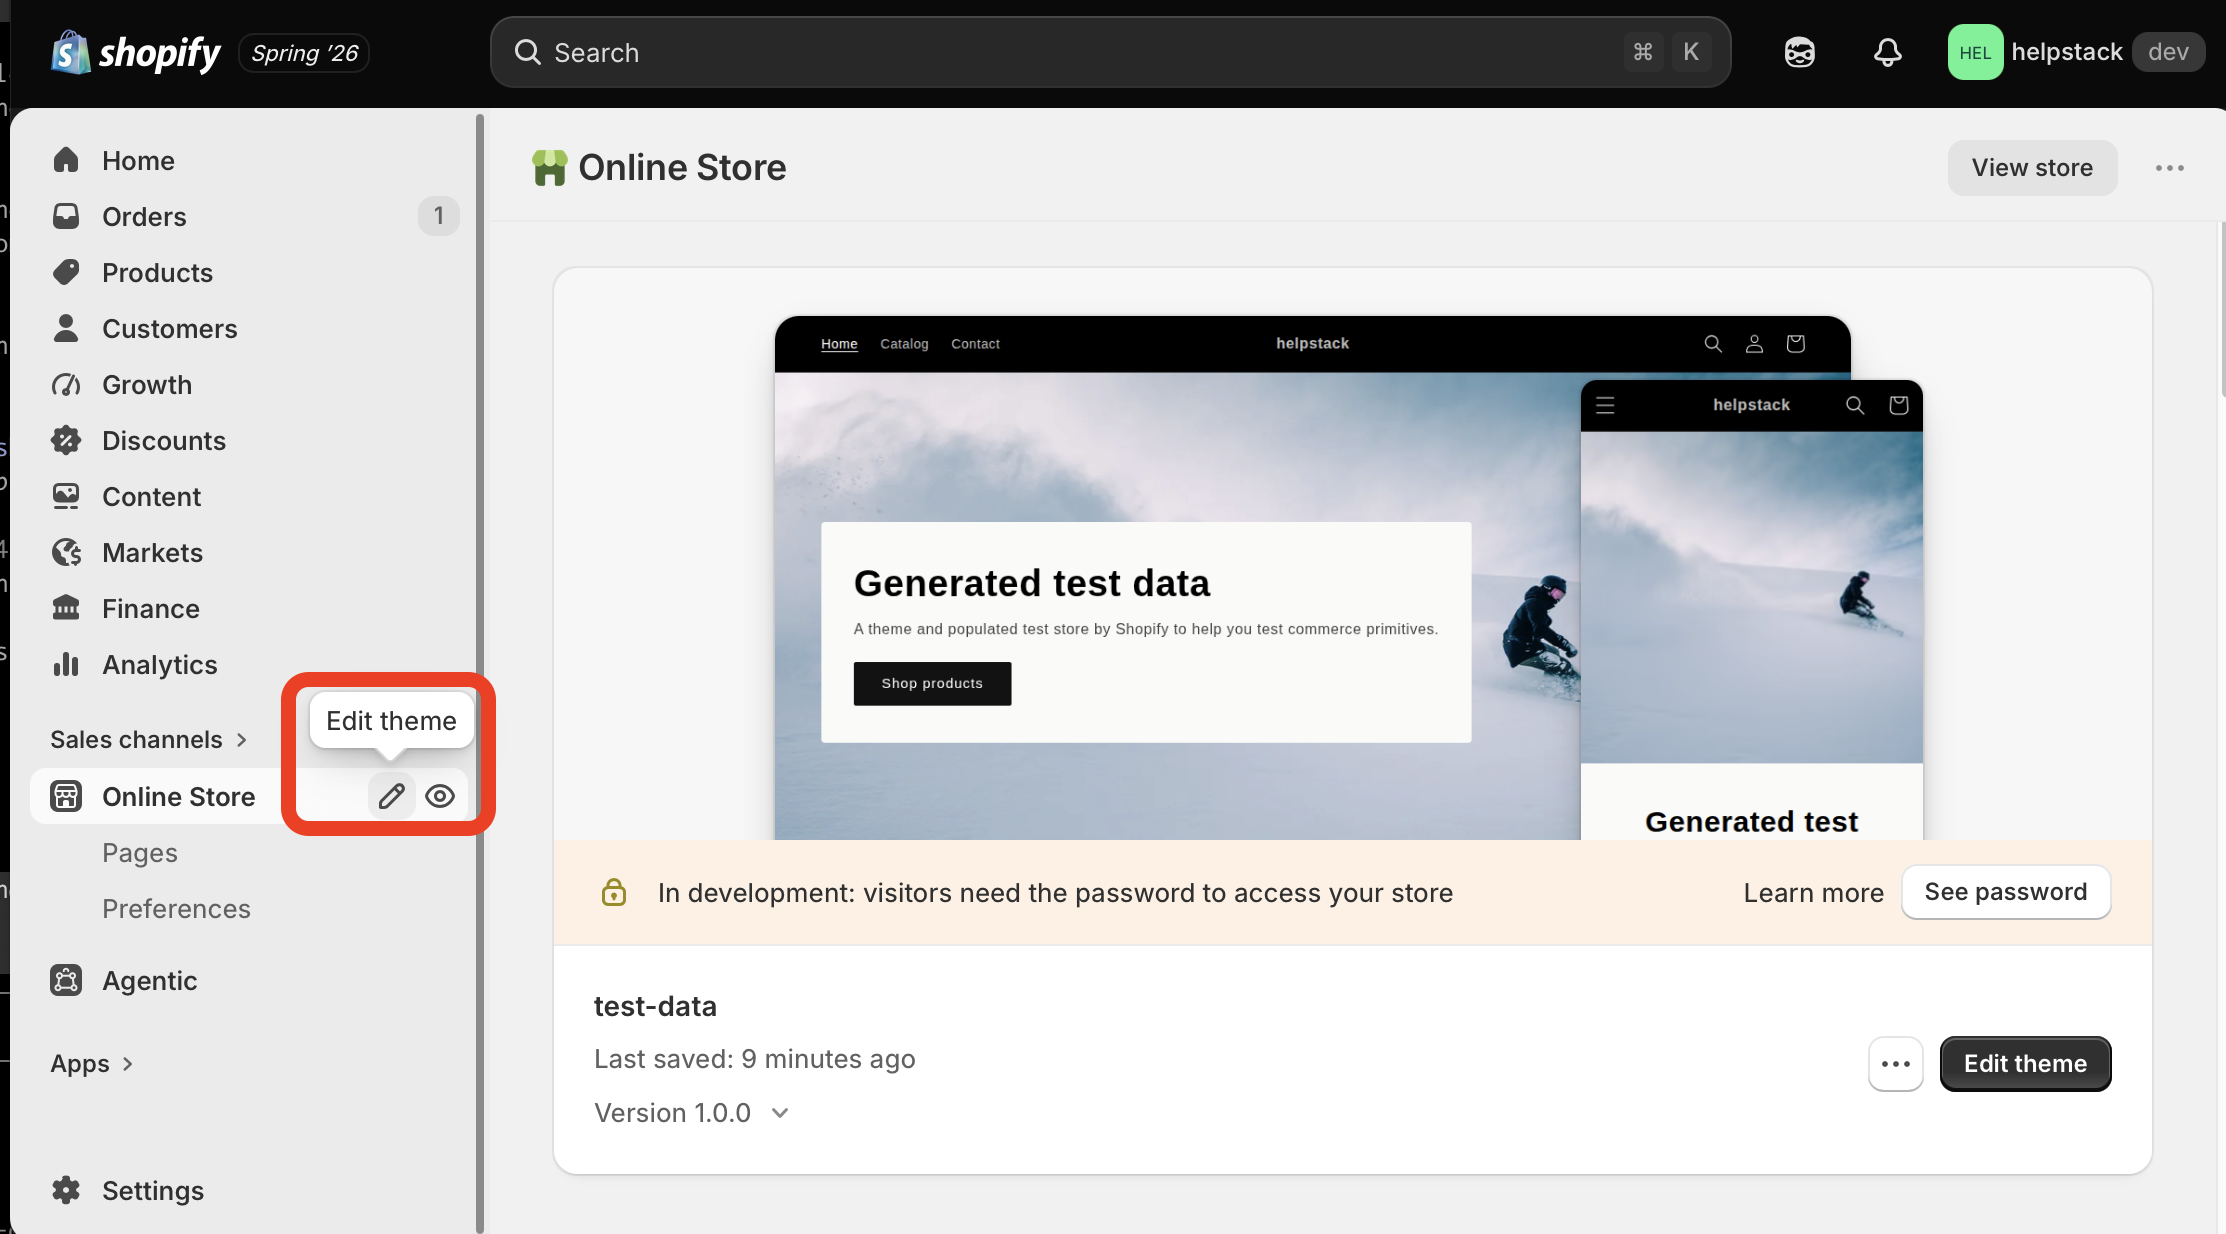
In your Shopify admin, go to Online Store → Themes.
-
Next to your live theme, click the pencil (Edit) icon or Customize.
Shopify admin: Online Store → Edit theme -
In the theme editor that opens, look for the App embeds section in the left sidebar — it has a puzzle-piece icon, near the bottom.
-
Find HelpStack Chat in the list and toggle it ON.
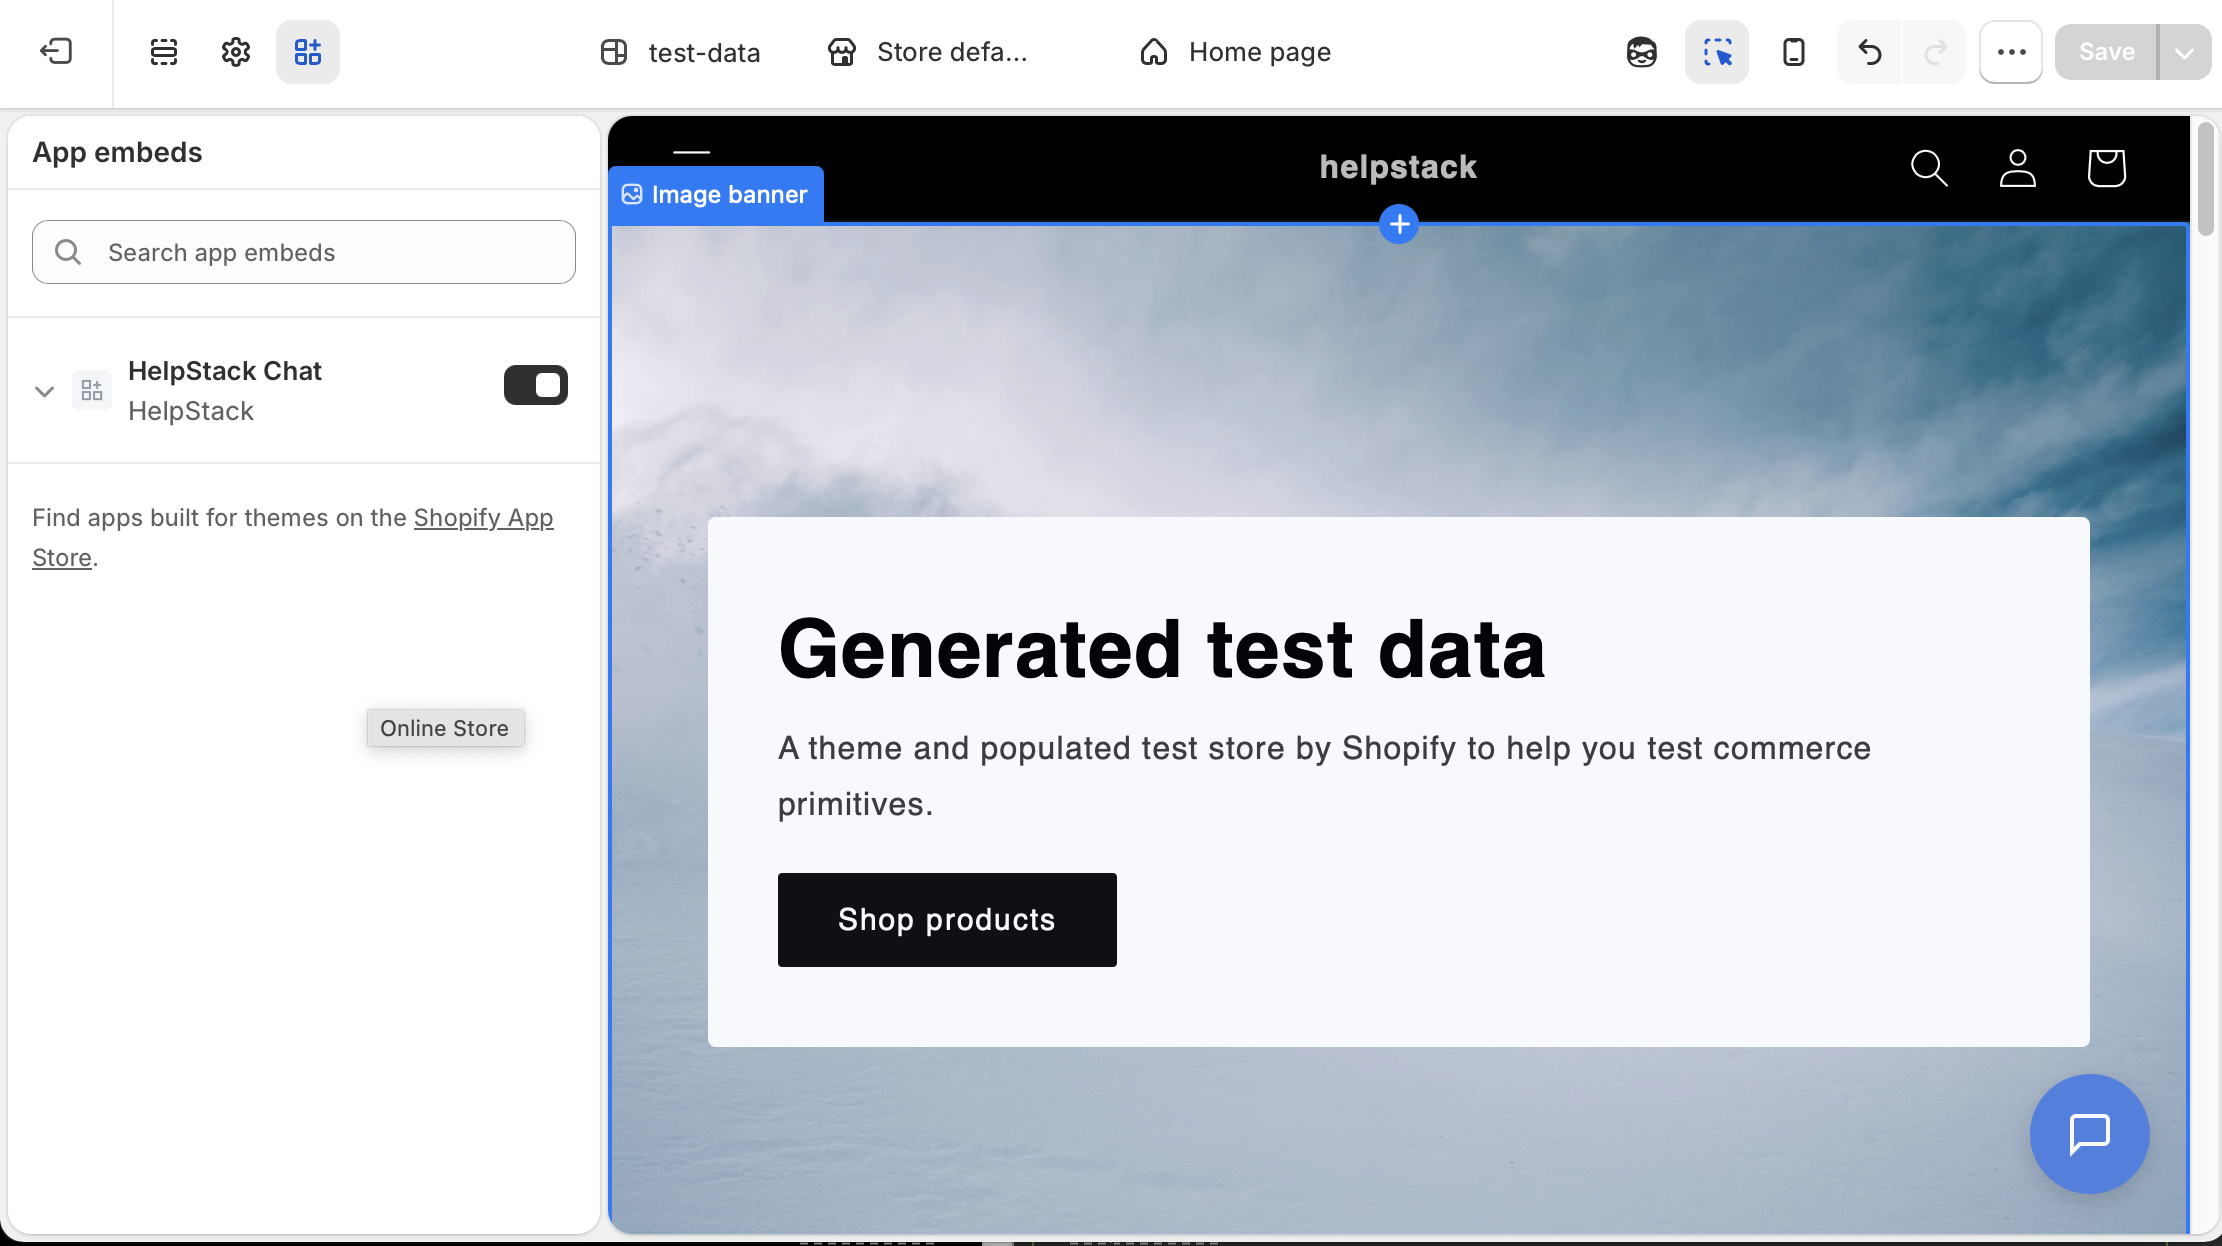
Turn on the HelpStack Chat app embed in the theme editor -
Click Save in the top-right corner of the theme editor.
The chat bubble appears on your storefront immediately.
Option B — Manual snippet
Use this if your theme doesn't support App embeds (older Debut or Brooklyn themes).
-
In HelpStack, go to Settings → Integrations and copy the snippet shown in the Storefront widget section. It looks like:
<script src="https://helpstack.eu/api/shopify/storefront-widget.js?shop=your-store.myshopify.com" async></script> -
In your Shopify admin, go to Online Store → Themes → Edit code.
-
Open
theme.liquid(under the Layout folder). -
Paste the snippet just before the closing
</body>tag. -
Click Save.
Troubleshooting#
| Problem | What to check |
|---|---|
| Chat widget not showing on storefront | Did you save in HelpStack (Step 3a)? Is App embed toggled ON and saved in the theme editor (Option A)? Or is the snippet pasted before </body> (Option B)? |
| AI answers "access restricted" on order questions | Complete Step 2 — the Protected customer data grant is missing or pending |
| Shoppers in a specific language see the wrong channel | Add a per-language row in Settings → Integrations → Storefront widget for that language |
| Widget loads but shows the wrong language | The locale mapping uses the shopper's browser language. Add a row for that language code in the storefront widget settings |